Pumpkin Shaped Cake Recipe: Easy, Fun & Festive Treat
Hey, so let me guess you’ve been scrolling Pinterest, Instagram, or TikTok, saw a cute little pumpkin-shaped cake, and thought, “I can do that… right?” Well, first of all, yes, you totally can. And second, let’s be honest there’s something ridiculously satisfying about creating a cake that’s both a dessert and a showstopper. I mean, who doesn’t want a cake that doubles as a fall centerpiece? 🍂
I’ve baked my fair share of seasonal cakes, and pumpkin-shaped cakes have a special place in my heart. There’s just something magical about transforming a regular round cake into a little edible pumpkin that makes people go “Wow, you made this?” and then, of course, eat it five minutes later. So, grab your spatula and your inner child because we’re about to dive into the world of pumpkin shaped cake magic.
Why Make a Pumpkin Shaped Cake?
You might be thinking, “Why bother? Can’t I just carve a pumpkin or buy a pie?” Well… yeah, you could, but hear me out:
- It’s versatile: Birthday? Halloween? Thanksgiving? This cake fits all the vibes.
- It’s a conversation starter: Seriously, guests will notice. Insta-worthy, anyone?
- It’s customizable: Chocolate, vanilla, red velvet… you name it. You’re the pumpkin boss.
- It’s fun to make: Baking should be joyful, not stressful. Shaping a cake is like playing with edible clay.
Honestly, if you enjoy baking, the real reason is simple: it’s ridiculously fun and way more impressive than a flat sheet cake.
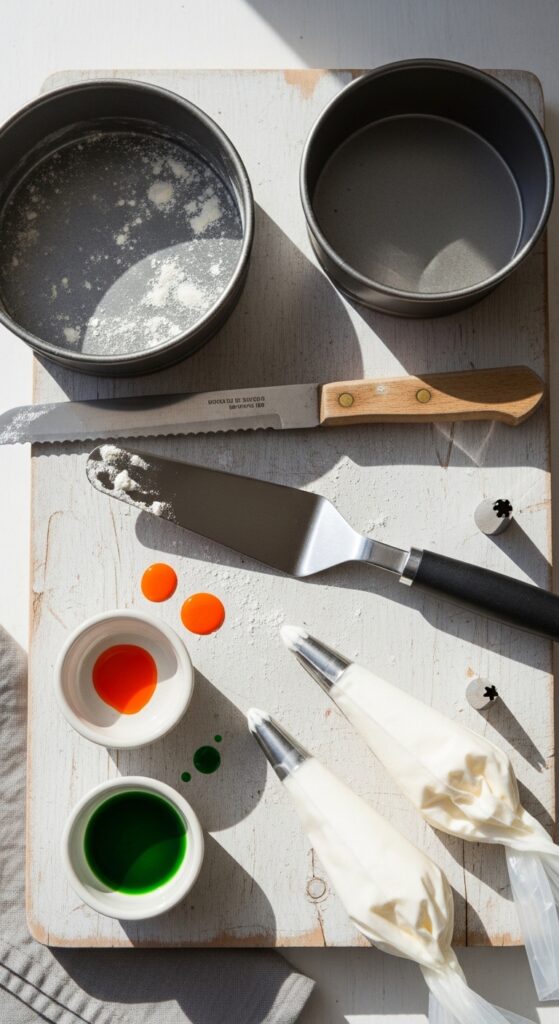
Tools You’ll Need for Pumpkin Perfection
Before we get messy with frosting and flour, let’s talk gear. A pumpkin-shaped cake isn’t rocket science, but having the right tools makes your life way easier.
Essential Baking Tools:
- Round Cake Pans: Two 6–8 inch pans usually do the trick. Stack ‘em or trim to get that pumpkin dome.
- Serrated Knife: For leveling and sculpting the pumpkin curves. Precision matters here.
- Offset Spatula: Your new best friend for frosting evenly.
- Piping Bags & Tips: Perfect for the stem and ridges. FYI, don’t skip this unless you want a lumpy pumpkin.
- Food Coloring: Orange, green, and maybe a touch of brown for realistic shading.
- Cake Board: Because no one wants frosting on the counter.
Optional, but super helpful: a ball-shaped cake pan. It’s honestly a shortcut if you want a smoother pumpkin dome without trimming layers like a pro.
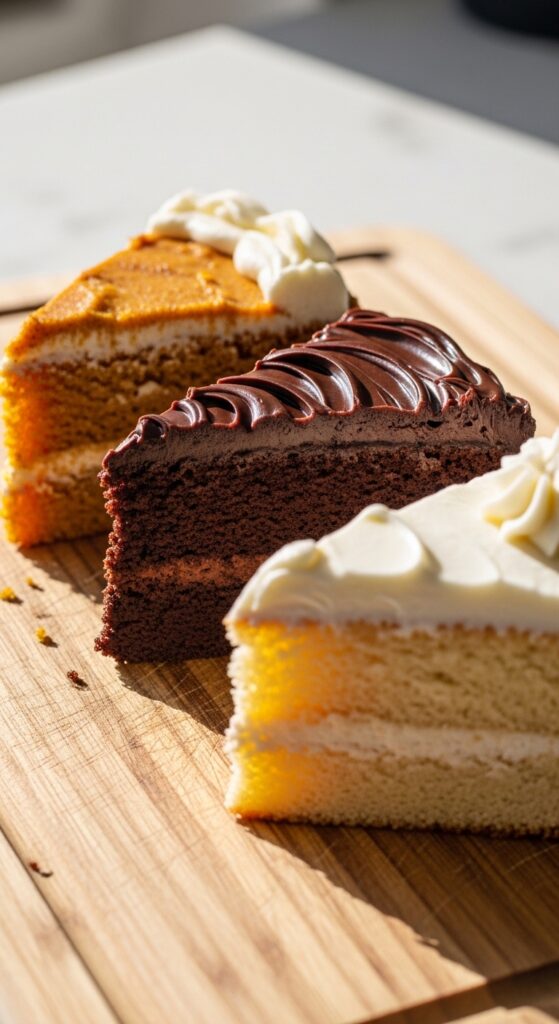
Picking the Right Cake Flavor
Now, here’s where it gets fun flavor. I’m all about taste first, aesthetics second. If your pumpkin-shaped cake tastes like cardboard, all the Instagram likes in the world won’t matter.
My Top Flavor Picks:
- Classic Pumpkin Spice: Obviously, a pumpkin cake itself makes sense. Warm, cozy, fall vibes—perfect with cream cheese frosting.
- Chocolate: Chocolate cake makes an unexpected but heavenly pumpkin. Bonus: you can dye the frosting orange, and no one suspects a thing.
- Vanilla: Plain but powerful. Vanilla gives you a blank canvas for decorating. Think of it as the “white T-shirt” of cakes.
- Carrot Cake: Slightly offbeat, but carrot + cream cheese frosting = match made in heaven.
Pro Tip: Whatever flavor you choose, make sure the cake is dense enough to carve. Fluffy sponge cakes are great, but they tend to crumble when you try to sculpt a pumpkin shape.
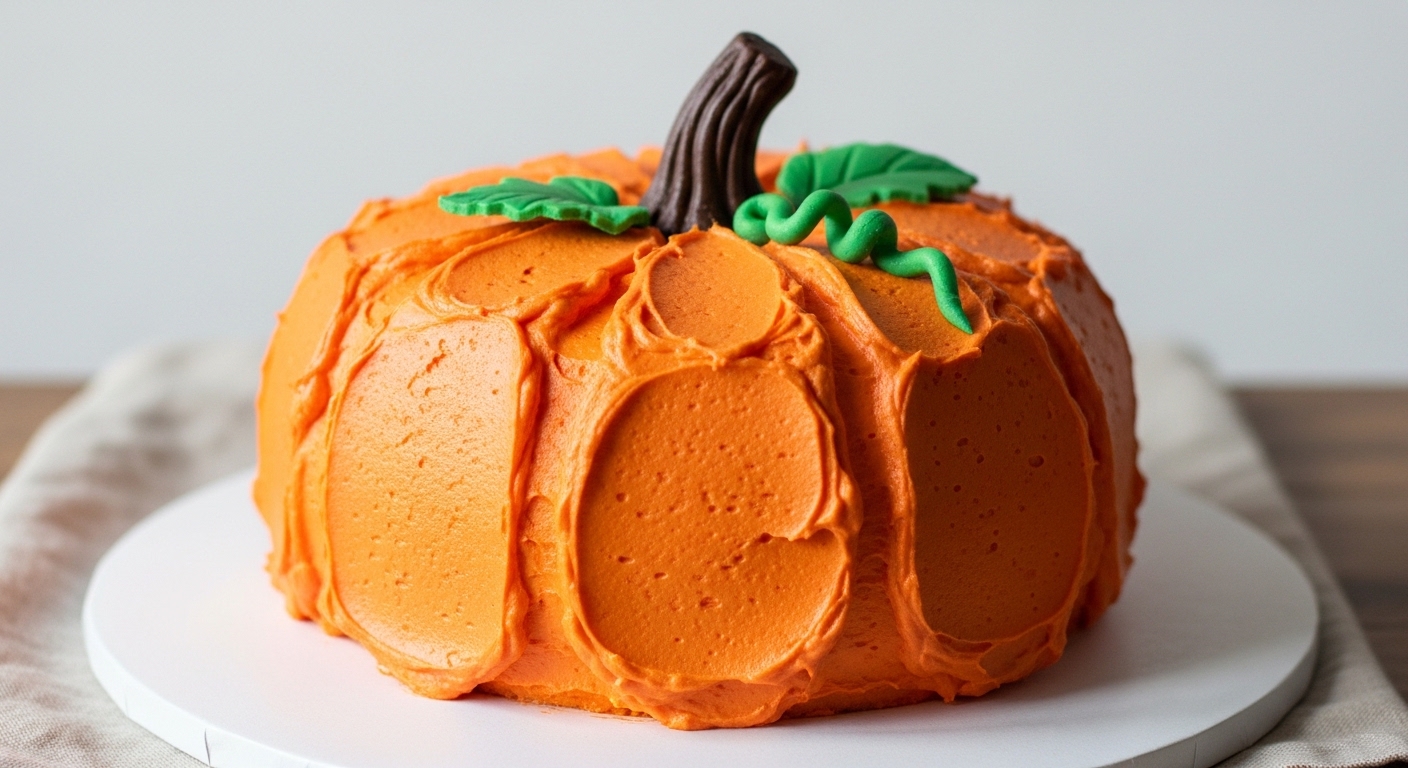
How to Shape a Cake into a Pumpkin
Alright, let’s get to the sculpting part. Don’t worry this is easier than it looks.
Step 1: Bake Your Layers
- Bake two or three round cakes.
- Cool completely. Cake that’s even slightly warm will turn into a frosting disaster.
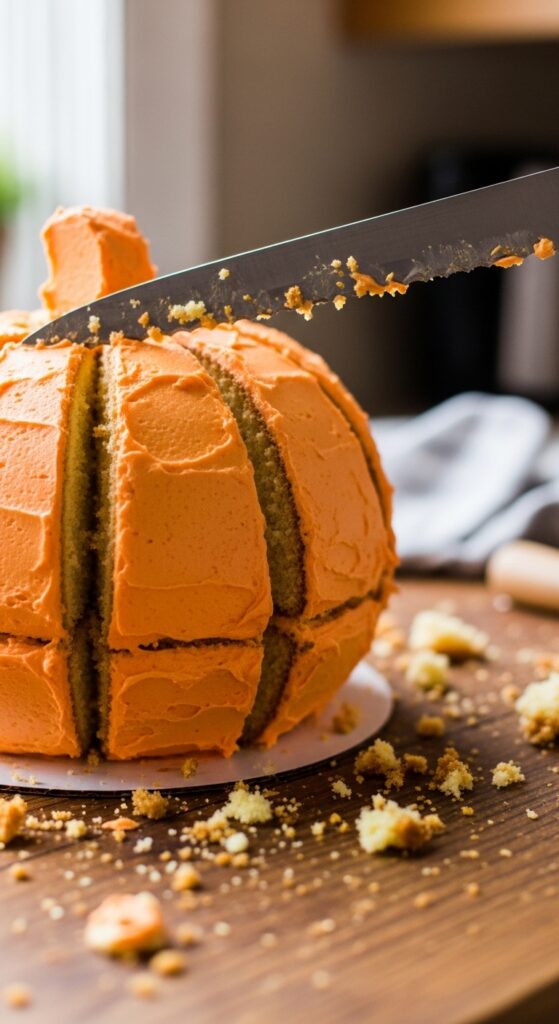
Step 2: Carve the Pumpkin Shape
- Place one layer on the cake board.
- Stack the others, using frosting or ganache as glue.
- Trim the sides slightly to create a round dome. You want a subtle curve, not a perfect sphere.
- Optional: Use a serrated knife to create small ridges vertically this gives that “real pumpkin” look.
Step 3: Apply a Crumb Coat
- Spread a thin layer of frosting over the entire cake.
- Chill for 15–20 minutes. This locks crumbs in so your final coat is flawless.
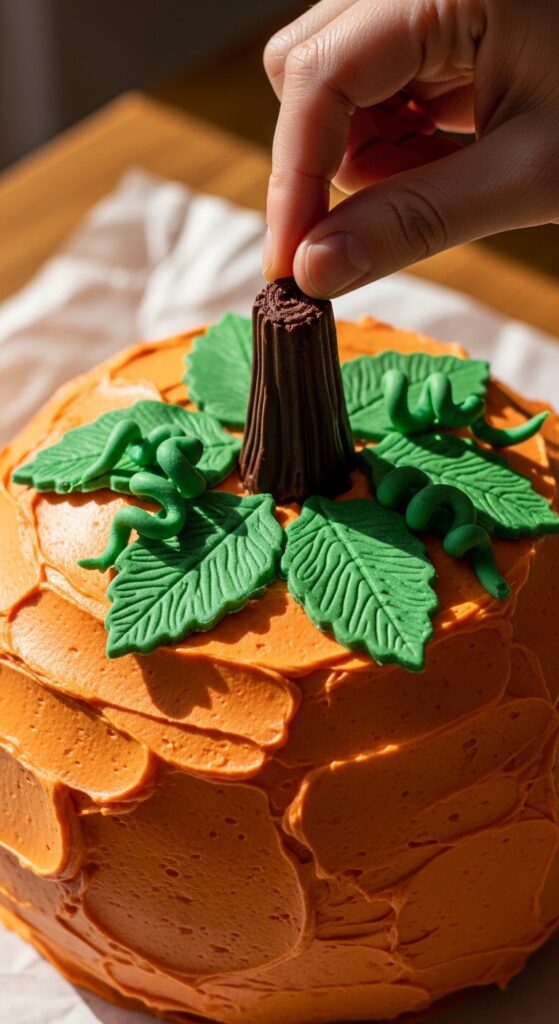
Step 4: Frost & Sculpt
- Apply your final layer of orange frosting.
- Use an offset spatula to smooth curves.
- Use a piping bag to define ridges and add texture.
- Top with a chocolate or fondant stem. Green leaves are optional but highly recommended.
Rhetorical question time: doesn’t it feel like frosting a pumpkin is basically therapy with sprinkles? 🍰
Decorating Ideas That Wow
Let’s be real: decorating can make or break your pumpkin-shaped cake. And trust me, you don’t need to be a pro to get this right.
Simple but Stunning Techniques:
- Classic Orange Frosting + Green Stem: Clean, simple, and elegant. Works for all occasions.
- Textured Pumpkin: Use a spatula or fork to make grooves. Looks fancy without extra work.
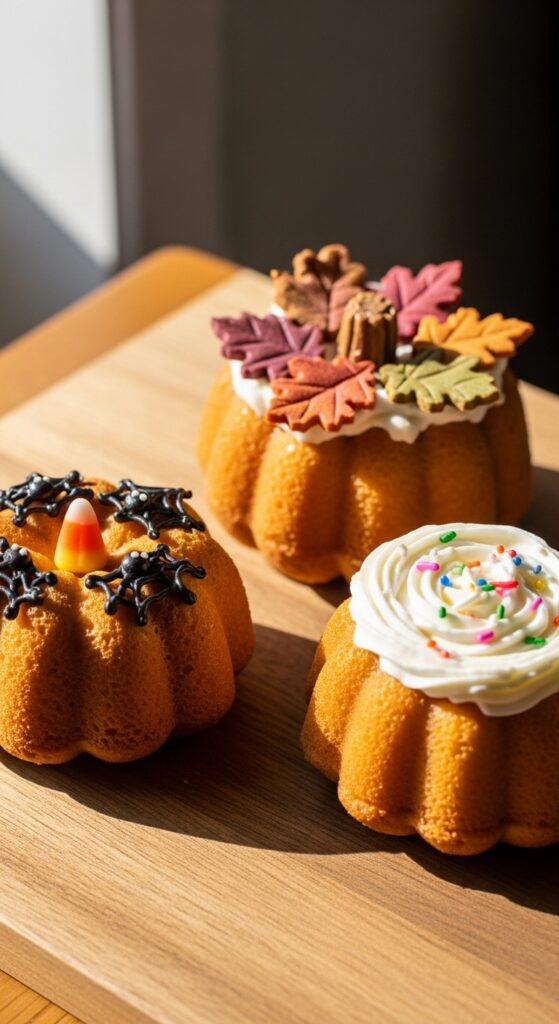
- Candy Accents: Tiny candy pumpkins, sprinkles, or edible glitter for that “wow” factor.
- Drip Effect: White or chocolate ganache dripping down adds a luxurious touch.
My favorite? Cream cheese frosting with a few edible leaves. It’s cute, cozy, and slightly rustic perfect for fall.
Common Mistakes to Avoid
Look, I’ve been there. You try to sculpt a cake and it ends up looking like a squashed orange. Here’s how to avoid that nightmare:
- Don’t frost warm cake: Crumb city incoming.
- Use dense cake layers: Fluffy cake = crumbling. Trust me, I cried once.
- Chill between steps: Patience is key. Even 15 minutes in the fridge makes a huge difference.
- Don’t overdo the colors: Neon orange screams “DIY disaster.” Stick to a natural pumpkin tone.
- Be gentle when carving: Less is more. You can always trim more, but you can’t put it back.
Advanced Techniques for the Brave
If you’re feeling ambitious (or just want to flex on Instagram), here are some next-level ideas:
- Fondant Pumpkins: Smooth, sculptable, and looks professional. Bonus: You can make tiny leaves and vines.
- Airbrushing: Gives depth and a realistic look to your pumpkin. FYI, requires equipment but wow, the results…
- Textured Stems: Chocolate modeling paste or marzipan can make stems look eerily real.
Even if you don’t go pro, experimenting with one or two advanced techniques can elevate your cake from cute to chef-level impressive.
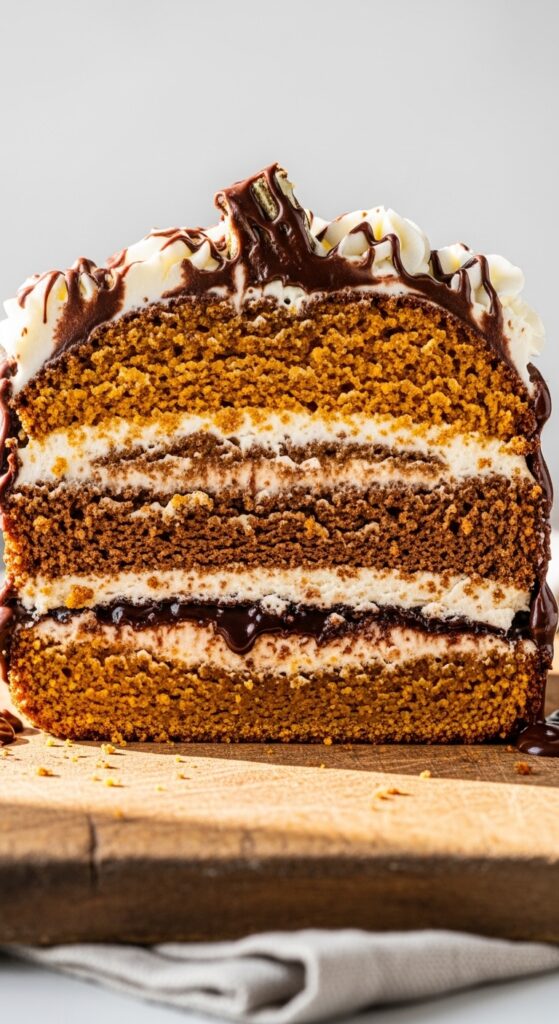
Flavor Pairings and Fillings
Here’s where we get decadent. Pumpkin-shaped cake isn’t just about looks it’s about taste too.
Popular Fillings:
- Cream Cheese: Classic, tangy, and creamy. Perfect with pumpkin or carrot cake.
- Chocolate Ganache: Rich and indulgent. Pairs surprisingly well with orange frosting.
- Cinnamon Buttercream: Sweet, spicy, and very fall.
- Fruit Fillings: Apple, pear, or cranberry preserves add a nice surprise inside.
Personally, I love cream cheese frosting with a hint of cinnamon. It’s cozy, flavorful, and everyone swoons.
Storing & Serving Your Pumpkin Cake
You don’t want your masterpiece to turn into a sad, saggy mess. Here’s the lowdown:
- Room Temp: 1–2 days max if it’s not too hot.
- Fridge: 3–4 days, tightly wrapped. Frosting might harden slightly, but it’s still delicious.
- Freezing: Cake layers freeze well. Frost after thawing for best results.
Serving tip: Slice with a serrated knife and wipe between cuts to keep each piece looking clean. FYI, guests will appreciate not getting frosting smears on their hands.
Fun Ideas for Special Occasions
A pumpkin-shaped cake isn’t just for fall. Think outside the gourd:
- Halloween: Add spooky faces or edible eyeballs.
- Thanksgiving: Make mini pumpkins for individual servings.
- Fall Birthdays: Customize colors or flavors for a personal touch.
- Baby Showers: Orange isn’t just for fall think pumpkin spice with pastel accents.
Seriously, who said pumpkins are seasonal? They’re forever cute.
My Personal Tips & Tricks
Since you’re here, let me share a few insider nuggets I’ve learned:
- Less is more: Over-sculpting = stress. Let the cake’s natural curves shine.
- Use a turntable: Makes frosting and sculpting way easier.
- Frost in layers: Helps prevent tears and crumbs.
- Don’t be afraid to improvise: Found a broken piece? Make it a leaf or stem.
- Have fun: Cake should make you smile before it even hits the plate.
Honestly, baking is all about enjoying the process, not just the final product. If you laugh, mess up, or sneak a taste, that counts as success too.
Final Thoughts
So, here’s the deal: making a pumpkin-shaped cake is fun, rewarding, and surprisingly doable even if you’re not a professional baker. With the right tools, a solid base cake, and a little patience, you can turn a simple round cake into a festive masterpiece.
Remember:
- Choose a dense cake for carving.
- Chill between steps. Patience is your best friend.
- Don’t overthink decorating. Even simple textures and a stem go a long way.
- Have fun this is supposed to be enjoyable, not stressful.
And most importantly? Eat it with pride. Bonus points if you get people to “ooh” and “ahh” before they dig in. FYI, nothing tastes better than a cake you made with your own hands, especially one shaped like a pumpkin.
So go ahead grab your spatula, preheat that oven, and make a pumpkin-shaped cake that will impress everyone and vanish faster than you can say “pumpkin spice latte.” 🍰🎃