Easy Magic Cookie Bars Recipes for Delicious Treats
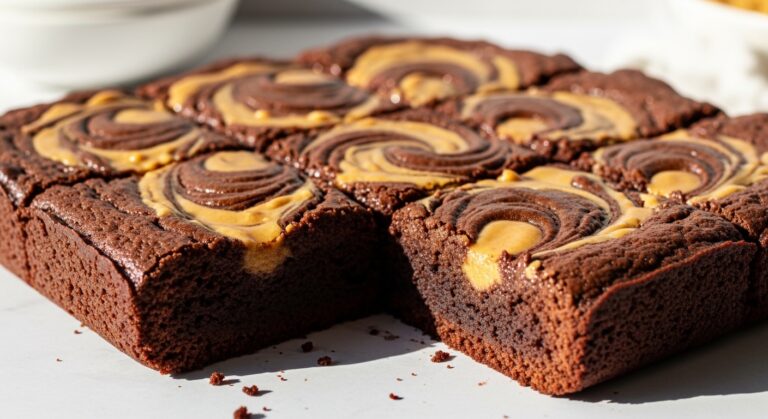
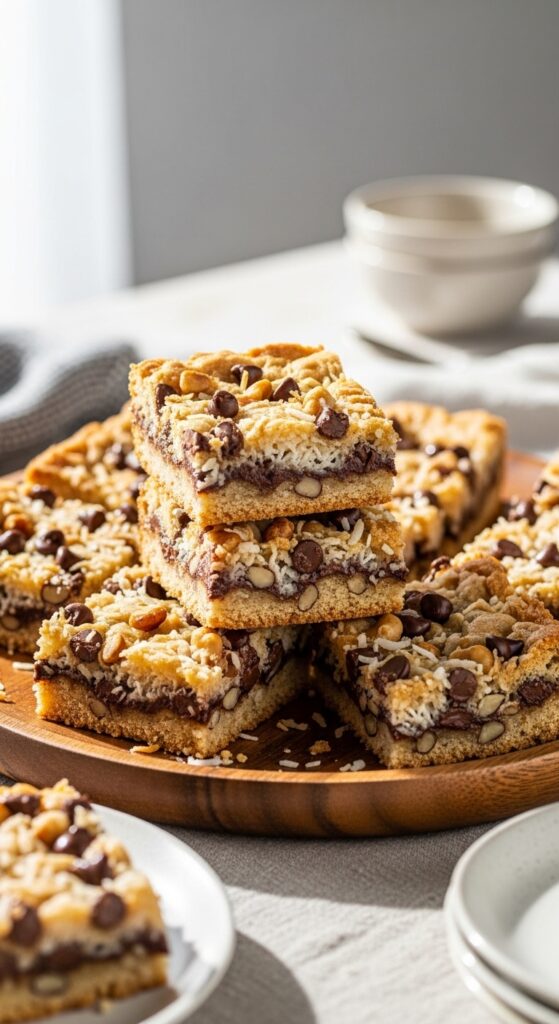
If there’s one dessert that’s equal parts easy, addictive, and impressive, it has to be magic cookie bars. Seriously, these bars are like the rockstars of the dessert world one bite, and people are hooked. They’ve got layers of graham cracker crust, sweetened condensed milk, chocolate, coconut, and nuts, all baked into a chewy, gooey, slightly crunchy masterpiece. Honestly, I don’t think I’ve ever met someone who didn’t like them, and I’ve tested that theory at family parties more times than I can count 😅.
Let’s be real these bars aren’t just “cookies in a square.” They’re magic, literally. Pouring those layers together feels like alchemy, and when they come out of the oven? Pure bliss. Today, I’m walking you through everything you need to know to make perfect magic cookie bars recipes, whether you stick to classic flavors or get a little adventurous with mix-ins.
What Are Magic Cookie Bars?
Ever wondered why these bars are called “magic”? It’s not just marketing fluff. When you pour the sweetened condensed milk over the layers, it bonds everything together while baking, creating a chewy, gooey texture that’s uniquely satisfying. Here’s the breakdown:
- Base: Usually graham cracker crumbs, sometimes with a bit of butter to hold it together.
- Middle layers: Chocolate chips, coconut flakes, or nuts.
- Binder: Sweetened condensed milk, which melts everything into a cohesive, magical layer.
IMO, the real charm is how versatile they are you can swap out chocolate chips for white chocolate, pecans for walnuts, or even drizzle caramel on top for an extra wow factor.
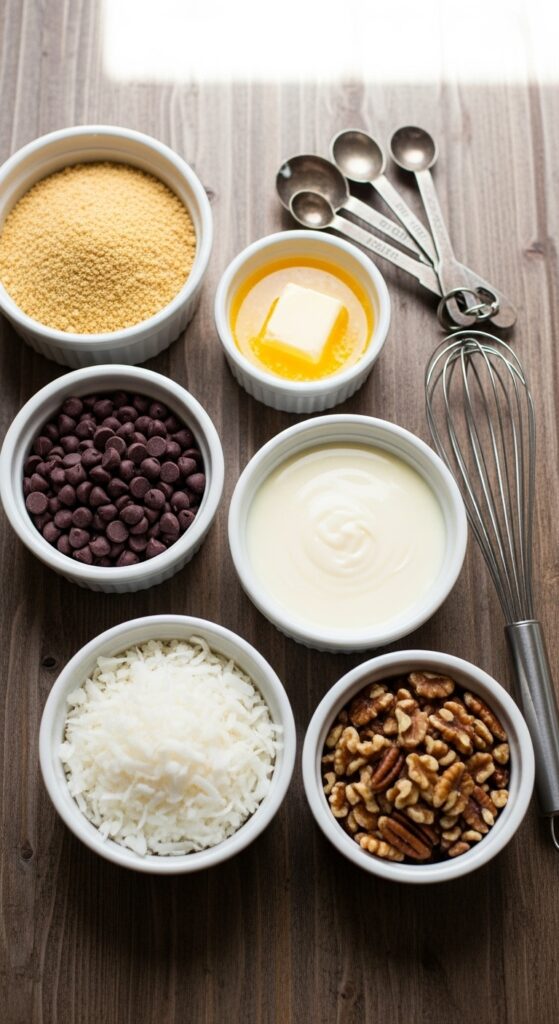
Essential Ingredients for Classic Magic Cookie Bars
Before we go full baking mode, let’s talk ingredients. Using the right quality basics makes a huge difference. Here’s what you need for a standard batch:
- 1 ½ cups graham cracker crumbs
- ½ cup unsalted butter, melted
- 1 can (14 oz) sweetened condensed milk
- 1 cup semi-sweet chocolate chips
- 1 cup shredded coconut
- 1 cup chopped nuts (optional but recommended: pecans or walnuts)
Pro tip: Toast the nuts lightly in a skillet for extra flavor. Trust me this tiny step upgrades these bars from good to OMG good.
Classic Magic Cookie Bars Recipe
This is the one I always go back to when I want something foolproof and crowd-pleasing.
Ingredients
- 1 ½ cups graham cracker crumbs
- ½ cup unsalted butter, melted
- 1 can (14 oz) sweetened condensed milk
- 1 cup semi-sweet chocolate chips
- 1 cup shredded coconut
- 1 cup chopped nuts (pecans or walnuts)
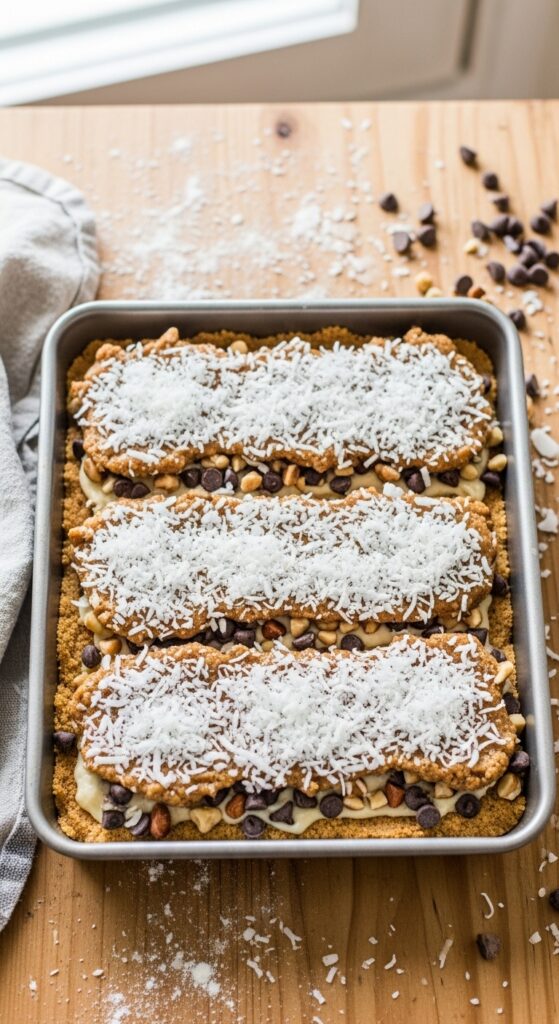
Instructions
- Preheat oven to 350°F (175°C) and grease a 9×13-inch baking pan.
- Mix graham cracker crumbs and melted butter; press firmly into the bottom of the pan to form the crust.
- Sprinkle chocolate chips evenly over the crust.
- Add shredded coconut and chopped nuts on top.
- Pour sweetened condensed milk evenly over the layers.
- Bake for 25–30 minutes until lightly golden on top.
- Cool completely, then cut into squares.
Tip: Cooling fully is essential. Cutting too soon can make the bars fall apart.
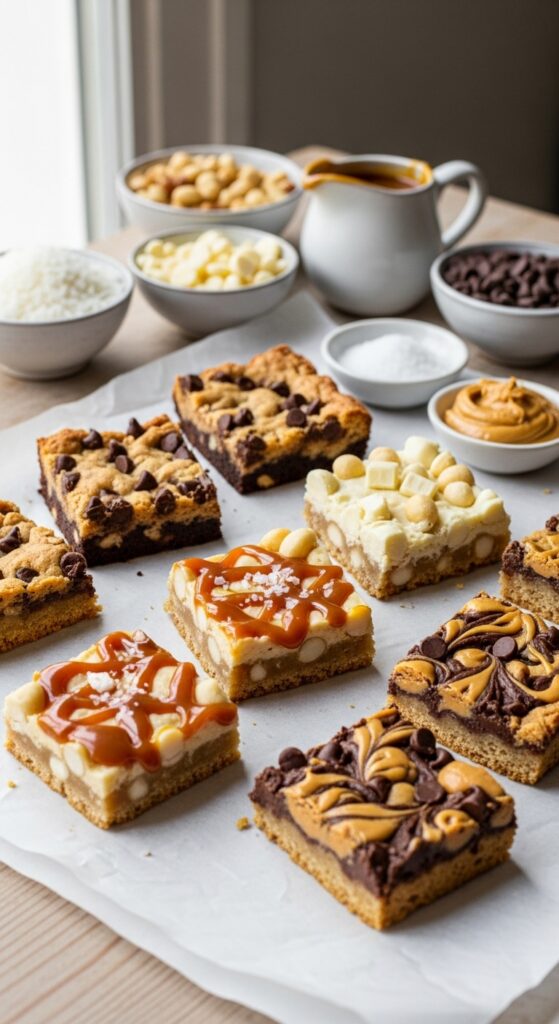
Variations to Try
Magic cookie bars are basically a canvas for your creativity. Here are a few crowd favorites:
1. White Chocolate & Macadamia Nut Bars
Swap the chocolate chips for white chocolate chunks and the nuts for macadamias. Sweet and slightly tropical.
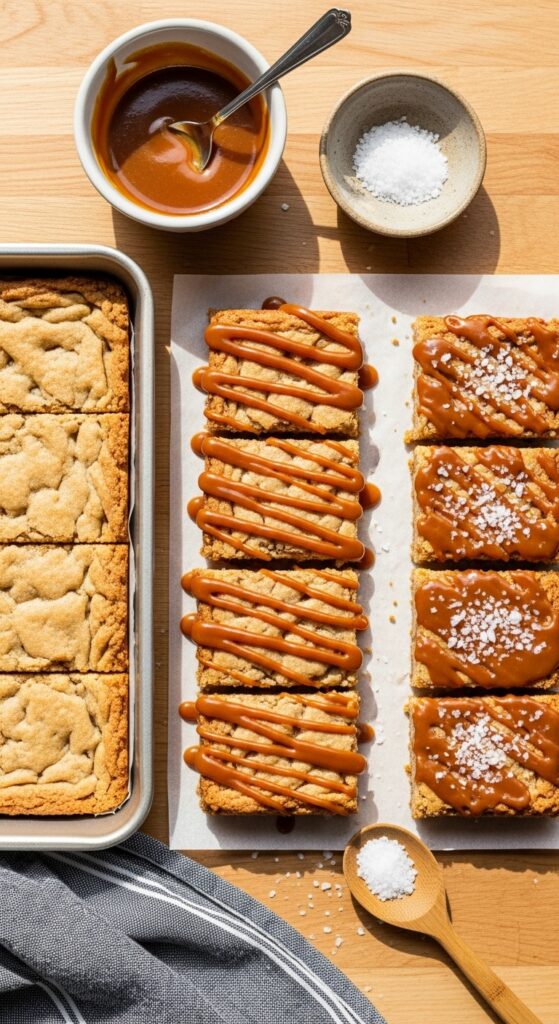
2. Salted Caramel Magic Bars
Drizzle caramel over the layers before baking and sprinkle a pinch of sea salt on top. The sweet-salty contrast is chef’s kiss.
3. Peanut Butter Chocolate Bars
Add mini peanut butter chips or swirl peanut butter into the condensed milk layer. Perfect for peanut butter lovers.
4. S’mores Magic Bars
Add mini marshmallows and a few extra chocolate chunks. Toast lightly under the broiler for gooey marshmallow perfection.
Ever tried combining two variations at once? I did a peanut butter caramel version once… and let’s just say it disappeared in under 10 minutes.
Tips for Perfect Magic Cookie Bars Every Time
Even a “magic” recipe can go wrong if you’re not careful. Here are my pro tips:
- Don’t overbake: The edges should be golden, but the center should remain gooey.
- Press the crust firmly: Helps bars hold together when cutting.
- Use a sharp knife: Run it under hot water and dry before cutting to get clean squares.
- Toast nuts: Adds depth and crunch.
- Cool completely: Seriously, patience pays off. I’ve ruined more than a few batches by cutting too early.
Baking Without Nuts: Allergy-Friendly Option
No nuts? No problem. Simply skip the nuts or swap them for seeds like sunflower or pumpkin seeds. Chocolate, coconut, and graham cracker layers alone are enough to keep the magic alive.
- Optional: Add dried fruit like cranberries or cherries for extra chewiness.
- Optional: Sprinkle some cinnamon over the coconut for a cozy flavor boost.
Even without nuts, these bars taste indulgent and rich. Trust me, the magic is still there.
Storing and Freezing Magic Cookie Bars
These bars keep surprisingly well. Here’s the lowdown:
- Room temperature: Store in an airtight container for up to 5 days.
- Refrigerator: Can last 1–2 weeks; good for gifting.
- Freezing: Wrap tightly in foil or plastic wrap, then freeze for up to 3 months. Thaw in the fridge before cutting.
FYI, I always freeze a batch. Nothing beats pulling out a few bars for an impromptu sweet treat.
FAQs
Can I use a different crust?
Absolutely! Some people love using crushed vanilla wafers or chocolate cookies for a richer base.
Do I need sweetened or unsweetened coconut?
Sweetened coconut is traditional, but unsweetened works if you want slightly less sugar.
Can I make smaller bars?
Yes, use a 9×9-inch pan or mini muffin tins for individual portions.
What’s the secret to keeping bars from falling apart?
Firmly pressing the crust and cooling completely before slicing is key.
Why Magic Cookie Bars Are a Crowd-Pleaser
Honestly, these bars tick every box:
- Easy to make: Minimal steps, max flavor.
- Adaptable: Can swap flavors and add-ins endlessly.
- Gooey and crunchy: That sweet-salty-chewy balance is irresistible.
- Perfect for gifts: Cut, wrap, and hand out at parties or holidays.
IMO, magic cookie bars are a dessert that impresses without stress. Even beginner bakers can pull them off with confidence.
Bonus Tip: Making Them Extra Fancy
Want to up your bar game? Try these finishing touches:
- Chocolate drizzle: Melt chocolate and zigzag over cooled bars.
- Powdered sugar dusting: Adds a subtle holiday vibe.
- Layered caramel or peanut butter: Pour thin layers between chocolate and coconut for richness.
Ever tried adding a pinch of sea salt on top of chocolate drizzle? It’s game-changing.
My Personal Experience With Magic Cookie Bars
I’ll admit, I used to avoid these bars because they seemed too “fussy” with layers. But one holiday season, I gave them a shot, and now they’re a staple in my baking rotation. I even brought them to a potluck once, and people started asking for the recipe before I could get a second plate 😅.
The best part? They’re flexible. No matter what mix-ins you have, it’s hard to go wrong. I’ve made them with:
- Mixed chocolate chips
- Cranberries and white chocolate
- Caramel drizzle
- Almonds or pecans
and each batch was gone within a day. Every. Single. Time.
Final Thoughts
Magic cookie bars aren’t just desserts; they’re a little slice of happiness baked in layers. Whether you stick to the classic recipe or experiment with your favorite flavors, the result is always indulgent, comforting, and shareable.
So grab a pan, your ingredients, and maybe a big glass of milk. These bars are easy to make, impossible to resist, and perfect for gifting or keeping all to yourself 😉
Once you taste the chewy, chocolatey, coconutty layers, you’ll understand why they’re called magic. And honestly? Baking them is almost as fun as eating them.