Easy No Bake Strawberry Jello Lasagna Recipe Everyone Loves
Ever wanted a dessert that’s ridiculously easy, visually stunning, and totally crave-worthy? That’s exactly what a no bake strawberry jello lasagna delivers. I remember the first time I made this for a family gathering people were hovering over the dish before it even cooled. True story. There’s just something about layers of jiggly strawberry goodness, creamy cheesecake, and fluffy whipped topping that turns every casual snack into a celebration.
Honestly, if you’re like me and have a love-hate relationship with complicated baking, this dessert will feel like pure magic. Minimal effort, maximum reward does it get better than that?
Why You’ll Fall in Love with No Bake Strawberry Jello Lasagna
Some desserts promise the world and then leave you disappointed. Not this one. It’s refreshing, creamy, and fun to eat all in one.
- Quick and easy: No oven required. Just assemble, chill, and serve.
- Perfect for gatherings: Makes a crowd-pleasing dessert that looks impressive.
- Flavorful layers: Sweet strawberries, tangy cream cheese, and fluffy whipped topping.
- Kid-friendly: Colorful, sweet, and fun to eat.
Ever noticed how people suddenly get quiet around a dessert table? Yeah… that happens here.
What Exactly Is a Strawberry Jello Lasagna?
The name sounds fancy, but it’s really just a layered no-bake dessert with a strawberry jello base. Think lasagna, but instead of pasta, you’ve got a crunchy cookie crust, soft cream cheese layer, jiggly strawberry jello, and fluffy topping. Each bite combines textures and flavors in a way that makes you go, “Wow… how is this so good?”
If you’ve ever struggled with a dessert that’s too dense or too plain, this recipe will feel like a breath of fresh air.
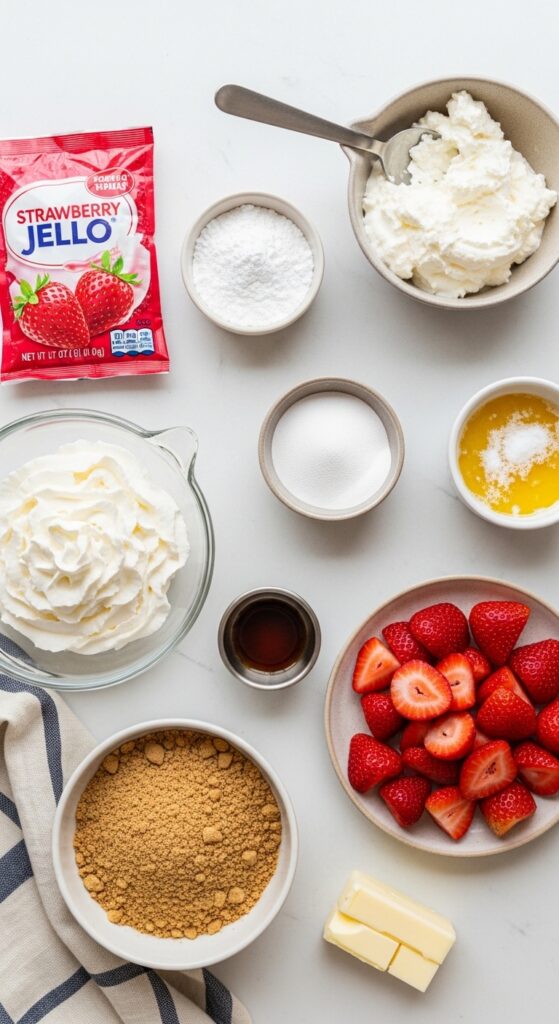
Ingredients You’ll Need
No complicated ingredients here most of these are pantry staples or grocery store basics.
- Strawberry jello – 1 package (3 oz)
- Hot water – 1 cup
- Cold water – 1 cup
- Cream cheese – 8 oz (softened)
- Powdered sugar – 1 cup
- Vanilla extract – 1 tsp
- Cool whip – 8 oz
- Graham cracker crumbs – 2 cups
- Butter – ½ cup (melted)
- Fresh strawberries – 1–2 cups, sliced
FYI, these ingredients are flexible. Want extra sweetness or a crunchier base? You can tweak quantities without breaking the recipe.
Step 1: Make the Graham Cracker Crust
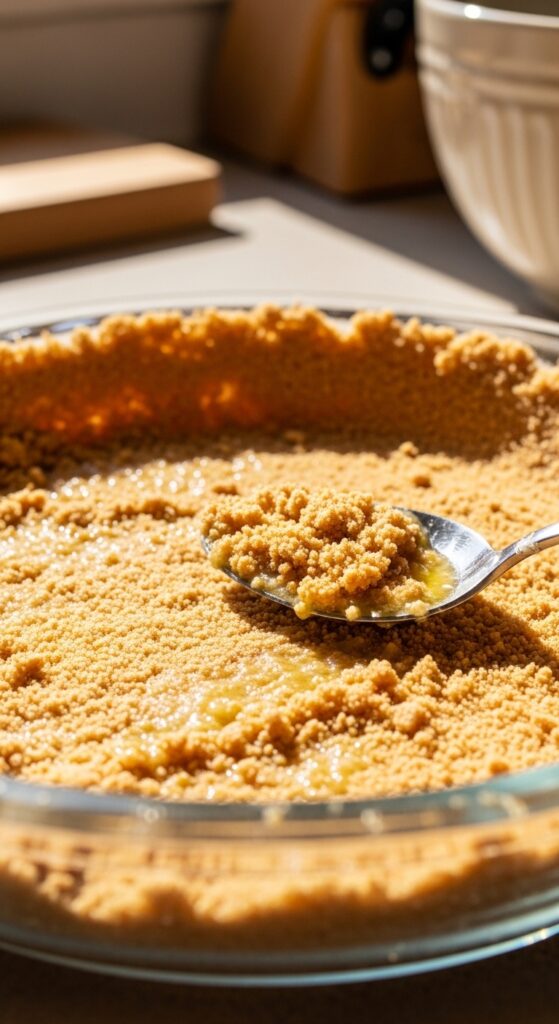
Quick and Crunchy Base
The crust provides structure and a buttery, sweet foundation. Here’s how to get it right:
- Combine graham cracker crumbs and melted butter in a medium bowl.
- Press mixture evenly into a 9×13 inch pan. Make sure it’s compact but not rock solid.
- Chill for 10–15 minutes in the fridge. This helps it set before adding layers.
Pro tip: I like pressing it with the back of a measuring cup it’s fast and makes the surface even.
Step 2: Prepare the Strawberry Jello

Strawberry jello is the star of the show. Here’s the easiest method:
- Dissolve the jello package in 1 cup hot water, stirring until completely dissolved.
- Add 1 cup cold water and mix.
- Let it cool slightly before pouring over the crust to avoid melting your crust.
Ever wondered why the jello layer sometimes refuses to set? Temperature matters. Too hot, and it melts the layer below. Too cold, and it sets unevenly.
Step 3: Make the Cream Cheese Layer
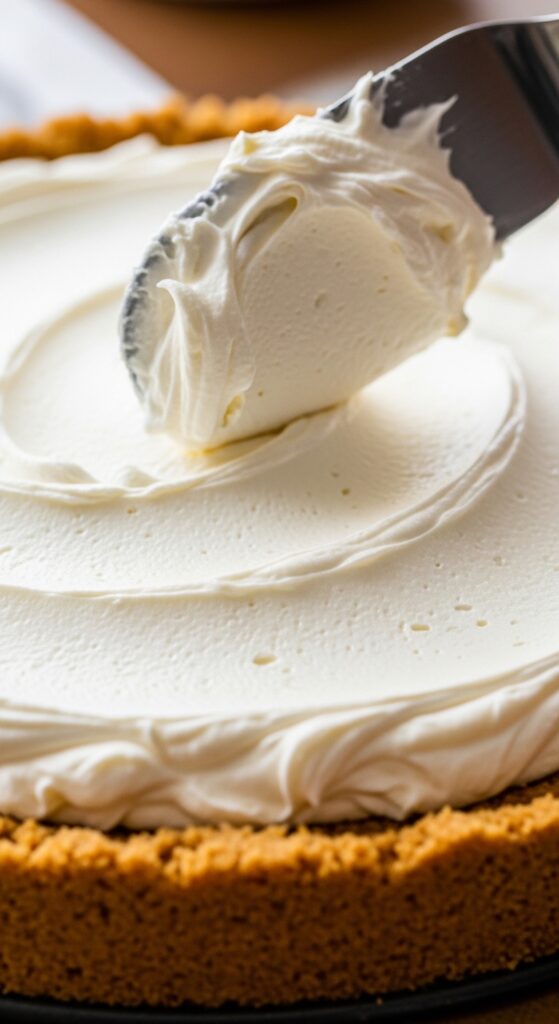
This is where the dessert gets its creamy, dreamy texture.
- Beat softened cream cheese with powdered sugar and vanilla until smooth.
- Gently fold in half of the whipped topping (Cool Whip).
- Spread evenly over the chilled crust.
This layer balances sweetness with a subtle tang. I’ve tried skipping it once never again. It’s crucial for that “wow” factor.
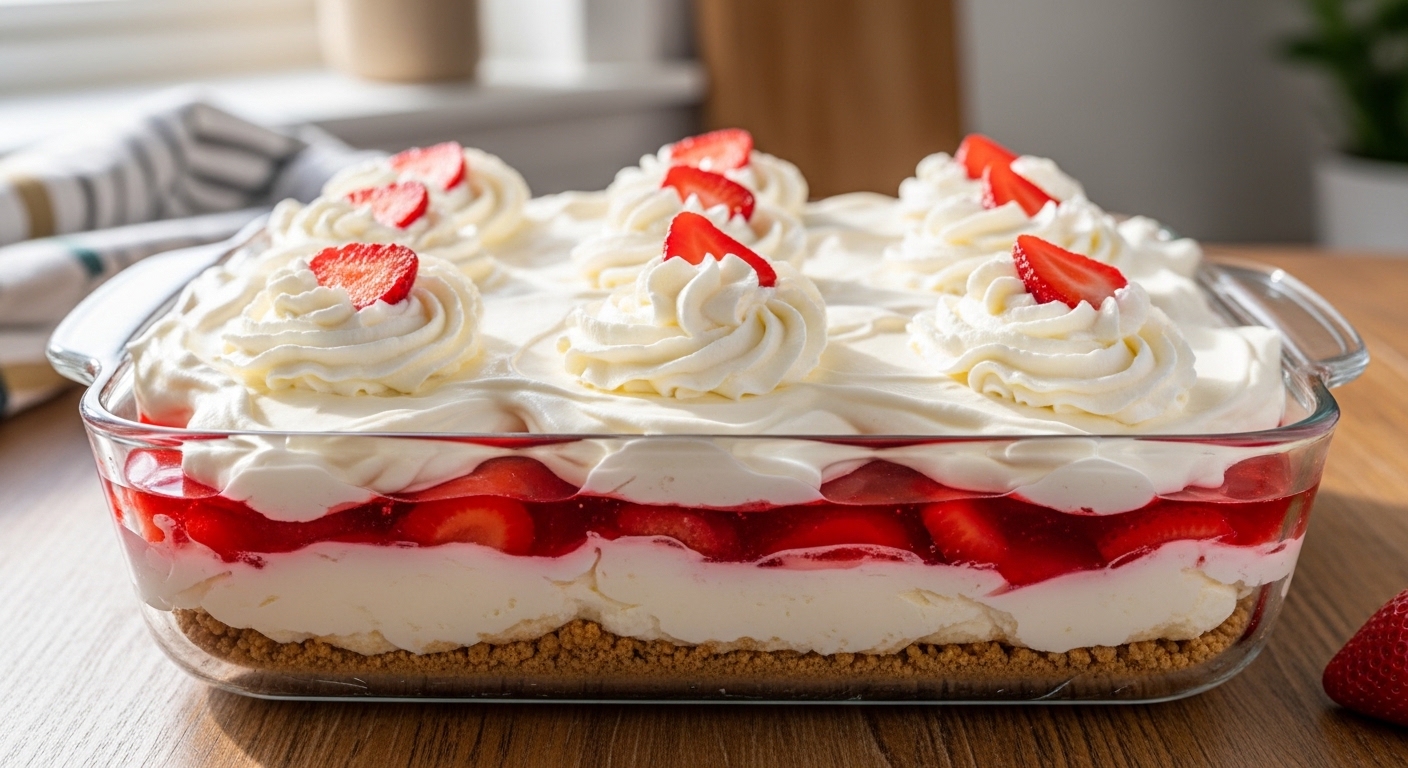
Step 4: Assemble the Layers
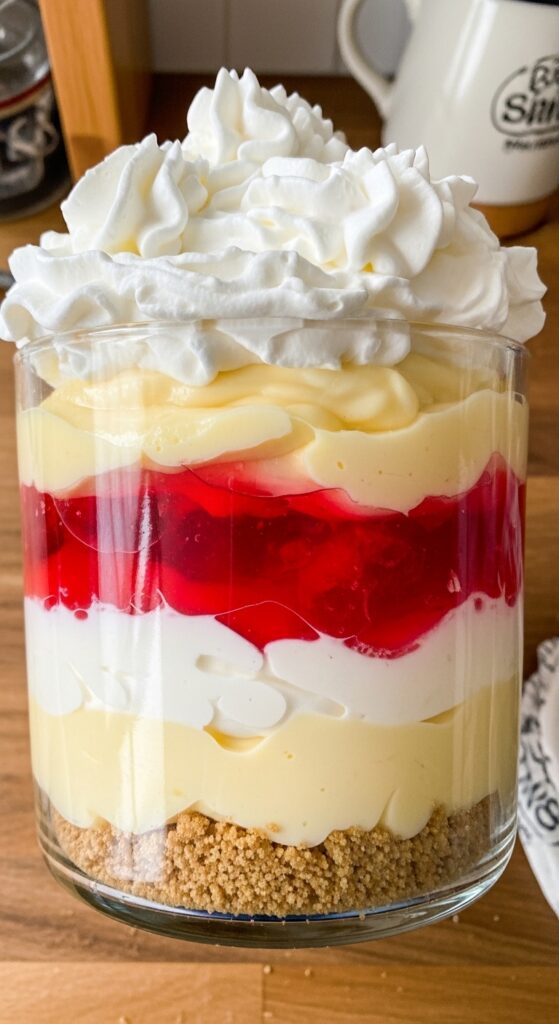
Now comes the fun part. Layering is surprisingly forgiving.
- Bottom layer: Graham cracker crust.
- Second layer: Cream cheese mixture.
- Third layer: Slightly cooled strawberry jello poured carefully over the cream cheese.
- Top layer: Remaining whipped topping, spread evenly.
- Optional garnish: Fresh strawberry slices or a light drizzle of strawberry syrup.
Rhetorical question: Doesn’t it feel oddly satisfying seeing those layers come together perfectly? I swear, this is my favorite part.
Chilling: Patience Is Key
You must chill for at least 4 hours, ideally overnight. This allows the jello to fully set and the flavors to meld. I know waiting is hard, but trust me this patience pays off in creamy, sliceable perfection.
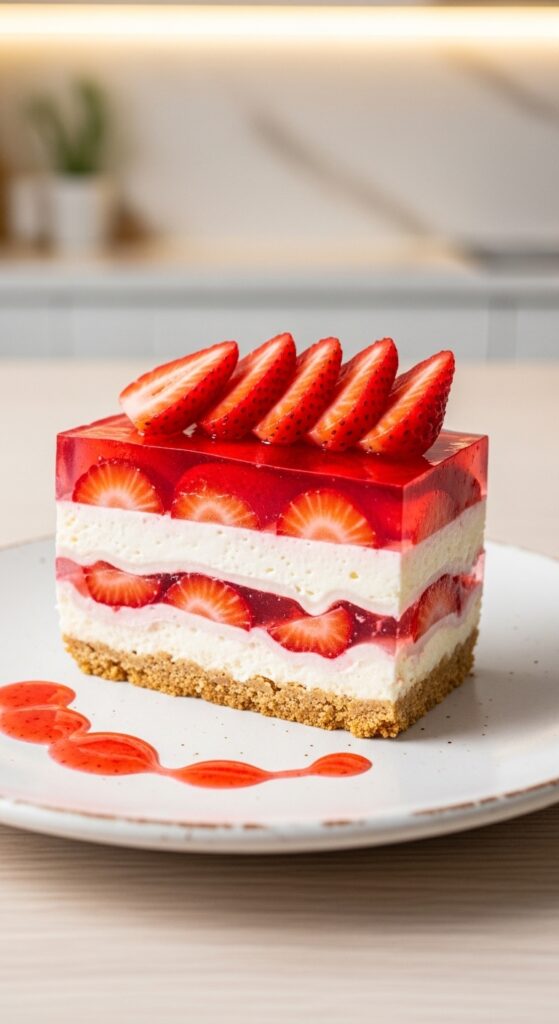
Texture Expectations
No bake strawberry jello lasagna is all about textures:
- Crunchy crust anchors each bite.
- Smooth cream cheese layer adds richness.
- Jiggly jello layer is bright, fruity, and refreshing.
- Whipped topping adds fluffiness.
Each forkful delivers a balance of soft, creamy, sweet, and slightly firm textures.
Common Mistakes to Avoid
Even easy recipes have pitfalls. I’ve learned these the hard way:
- Pouring hot jello directly over cream cheese – melts the layer below.
- Skipping chilling time – results in runny layers.
- Overfilling pan – layers spill over, creating a mess.
- Not softening cream cheese – lumpy textures are sad and avoidable.
Tips for Extra Flavor
Want to level this up? Try these tricks:
- Add lemon zest to cream cheese layer for a tangy twist.
- Mix diced strawberries into the jello layer.
- Use flavored graham crackers for a subtle crunch upgrade.
- Add a drizzle of chocolate on top for a strawberry-chocolate combo.
These tweaks are subtle but make each bite feel slightly gourmet.
Serving Ideas
This dessert is flexible for any occasion:
- Family dinners – a bright, fun end to the meal.
- Potlucks – colorful and portable.
- Picnics or summer parties – refreshing and no oven required.
- Kid-friendly – colorful layers that kids love.
FYI, it tastes amazing cold straight from the fridge. No need to overthink serving temperature.
Storing Leftovers
If there are any (doubtful!):
- Cover tightly with plastic wrap or foil.
- Refrigerate for up to 3–4 days.
- Slice carefully with a sharp knife for neat layers.
Pro tip: Chill slightly before slicing this keeps layers intact.
Freezing: Yes or No?
You can freeze this dessert, but texture changes slightly.
- Wrap tightly in foil and place in an airtight container.
- Freeze up to 1 month.
- Thaw overnight in the fridge.
It’s still delicious but the whipped topping may soften slightly.
Variations to Try
- Mixed Berry Jello Lasagna – use blueberry or raspberry jello for a different fruity punch.
- Chocolate-Strawberry Combo – layer chocolate pudding instead of cream cheese.
- Mini Dessert Cups – portion into small cups for individual servings.
Why limit yourself to the classic version when experimenting is so fun?
Why This Dessert Works
What makes this no bake strawberry jello lasagna so reliable?
- Simple technique – no baking disasters.
- Bright flavors – fruity, sweet, and creamy.
- Visual appeal – looks impressive, even for first-timers.
- Adaptable – easy to customize for flavor or presentation.
Honestly, it’s hard to mess this up if you follow the steps. That’s my favorite kind of dessert.
Frequently Asked Questions
Can I use fresh strawberries instead of canned jello?
Yes, but you’ll need gelatin to help fresh fruit layers set properly.
Can I make it ahead of time?
Absolutely! Assemble the day before and chill overnight. Flavors actually improve.
Can I substitute the graham cracker crust?
Sure! Use crushed cookies like shortbread or vanilla wafers for a slightly different texture.
Can I add other fruits?
Definitely! Blueberries, raspberries, or even peaches work well.
Final Thoughts
A no bake strawberry jello lasagna is a showstopper dessert that’s easy, fun, and delicious. It combines textures, colors, and flavors in a way that makes people forget it didn’t come from a bakery.
So grab your ingredients, get layering, and enjoy the best dessert that requires zero oven time and a little patience. Trust me your friends, family, and taste buds will thank you. And honestly, who doesn’t want dessert that looks fancy but is laughably easy? 🙂
This recipe proves that sometimes, the simplest desserts make the biggest impact.